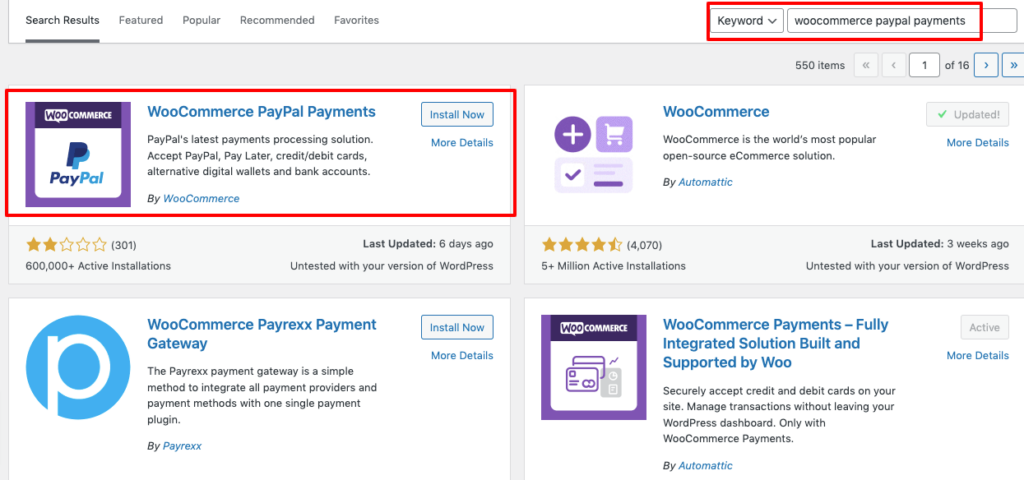
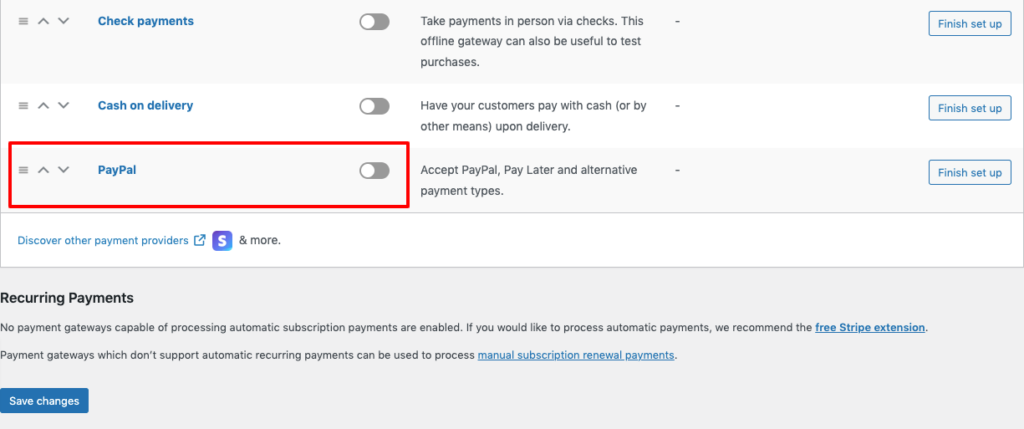
How to Activate Your PayPal Account on Your WordPress Website in 5 Simple Steps 1. Ensure PayPal Plugin is Installed If the PayPal plugin is already installed (your client may have this done), ensure it is activated.Go to the Plugins section in the WordPress dashboard.Locate the PayPal plugin (e.g., “WooCommerce PayPal Payments”) and click Activate if it’s not already activated. 2. Set Up a PayPal Business Account (If you already have a PayPal account, skip to step 3)Visit PayPal’s website and sign up for a Business Account.Complete the sign-up process with your business details. 3. Configure PayPal in WordPress In the WordPress dashboard, go to WooCommerce > Settings (or the plugin’s payment settings if not using WooCommerce).Click on the Payments tab and locate PayPal.Click Manage next to PayPal.To link your PayPal account, log into your PayPal Business account, navigate to Account Settings > API Access > NVP/SOAP API Integration (Classic).Click Manage API credentials, and get your API Username, API Password, and Signature.Paste these credentials into the respective fields in your WordPress PayPal settings. 4. Optional: Test the Payment Gateway To ensure the integration works correctly, you can enable Sandbox Mode (optional but recommended).Use PayPal’s sandbox testing environment to simulate payments.Once testing is complete, disable Sandbox Mode and ensure Live Mode is activated. 5. Save Changes and Activate PayPal After configuration, click Save Changes.Your PayPal payment gateway is now active, and customers can begin making payments through PayPal on your website.